What is a Le Mans 66 Diecast Kit?
A Le Mans 66 diecast kit is a scaled-down replica of the iconic Ford GT40 MkII, which famously secured a historic victory at the 1966 24 Hours of Le Mans race. These kits provide enthusiasts with the opportunity to build highly detailed model cars, often made of metal (diecast) and plastic parts. They come unassembled, allowing builders to experience the satisfaction of constructing a miniature version of a legendary vehicle. These kits vary in complexity, ranging from beginner-friendly sets to advanced models that offer intricate details and a high level of realism. The scale is also variable, but 1:18 and 1:24 scales are common. The kits are designed to replicate the original car’s features, from the body shape and interior to the engine and wheels. Building a Le Mans 66 diecast kit is not just a hobby; it’s a journey into automotive history.
Why Build a Le Mans 66 Diecast Kit?
Building a Le Mans 66 diecast kit offers numerous benefits beyond simply owning a model car. For many, it’s a therapeutic activity, a way to unwind and focus on a tangible project. The process of assembly requires patience, precision, and attention to detail, which can be incredibly rewarding. It’s a chance to engage with the history of the Ford GT40 MkII, a car that represents a pivotal moment in racing. Building a kit allows you to appreciate the engineering and design of the original vehicle. Furthermore, the finished model serves as a unique display piece, a conversation starter, and a testament to your craftsmanship. The sense of accomplishment derived from completing a challenging project is a significant motivator for many builders. It combines the thrill of motorsports with the satisfaction of creating something beautiful with your own hands.
Benefits of Building a Diecast Model

Building diecast models, including the Le Mans 66 kit, offers a multitude of benefits for enthusiasts of all ages. Firstly, it’s a fantastic way to develop fine motor skills and hand-eye coordination. The intricate tasks of assembling small parts, applying glue, and painting require precision and steady hands, enhancing these abilities over time. Secondly, it provides a creative outlet. Builders can customize their models with different colors, detailing techniques, and even modifications, allowing for personal expression and unique creations. The process also fosters patience and problem-solving skills. Building a model often involves overcoming challenges, learning from mistakes, and finding creative solutions, leading to a sense of accomplishment. Moreover, building diecast models can be a social activity, allowing enthusiasts to connect with like-minded individuals, share tips, and showcase their work. It encourages learning about automotive history, design, and engineering, broadening knowledge and appreciation for the subject.
Essential Tools and Materials for Your Le Mans 66 Build
To successfully build a Le Mans 66 diecast kit, you’ll need a range of tools and materials. Having the right equipment will make the build process smoother and more enjoyable, leading to a better finished product. While the specific requirements can vary based on the kit’s complexity, some essentials are universally necessary. These include tools for cutting, gluing, and painting, as well as various materials for detailing and finishing. Proper preparation and the use of quality tools are crucial for achieving the desired level of detail and realism in your model. Investing in a few key items will significantly improve the outcome of your build. Below are some suggestions to enhance the build.
Tools You’ll Need
Essential tools include a hobby knife or X-Acto knife for cutting plastic parts from the sprues and trimming excess material. A set of small files is invaluable for smoothing edges and refining details. Tweezers are a must-have for handling small parts, and a cutting mat protects your work surface. You’ll also need a set of small screwdrivers, ideally with interchangeable bits, to assemble the various components. Glue specifically designed for plastic models is essential. A good set of paintbrushes, ranging in size from fine detail brushes to larger ones for base coating, is crucial. Consider investing in a set of miniature clamps to hold parts together while the glue dries. Finally, a well-lit workspace is critical to ensure you can see all the details. This often means using a desk lamp or a lamp with a magnifying glass to examine tiny parts.
Materials to Gather

Beyond the tools, you’ll need a selection of materials. High-quality plastic model glue is a must, as it is specifically formulated to bond plastic parts effectively. Various types of paint are needed, depending on your chosen paint scheme and the level of detail desired. Acrylic paints are popular due to their ease of use and low odor. You may also require primer to prepare the surfaces for painting and clear coats to protect the paint and give it a glossy finish. Additional materials can include putty for filling gaps or imperfections, sandpaper for smoothing surfaces, and masking tape to protect areas during painting. For detailing, consider using washes and weathering powders to add realism. Decals and markings, which often come with the kit, will need to be applied correctly, so having decal setting solutions can be a good idea.
Step-by-Step Guide to Building Your Le Mans 66 Kit
Building a Le Mans 66 diecast kit is a rewarding process that involves several key steps. Following a structured approach will help you achieve a professional-looking result. Begin by carefully reviewing the kit’s instructions and familiarizing yourself with the parts. Organize the parts and prepare your workspace to keep everything neat and accessible. Patience and attention to detail are crucial throughout the entire build. Take your time, avoid rushing, and double-check each step before proceeding. The following guide provides a detailed walkthrough of the essential steps involved in building your Le Mans 66 diecast kit.
Preparing the Parts
The first step is to carefully remove the plastic parts from the sprues. Use a sharp hobby knife or sprue cutters to separate the parts, cutting close to the part to minimize the need for trimming. Any remaining attachment points should be trimmed and smoothed with a hobby knife or fine-grit sandpaper. Inspect each part for imperfections, such as mold lines or flash. These should be carefully removed to ensure a clean and accurate fit. Once all parts are separated and cleaned, you may want to wash them with mild soap and water to remove any dust or residue from the manufacturing process. Allow the parts to dry completely before beginning the assembly. Organizing the parts into groups or categories can greatly assist with the build process, making it easier to find the right pieces when needed.
Assembling the Body

The body is typically one of the first major assemblies. Following the kit’s instructions, carefully join the body panels together. Ensure the parts align correctly and use plastic model glue to secure them. Clamps or tape can be used to hold the parts together while the glue dries. Once the body is assembled, inspect it for any gaps or imperfections. These can be filled with model putty and smoothed with sandpaper. Prime the body to prepare it for painting. This provides a smooth surface for the paint to adhere to and helps the colors to appear more vibrant. Apply several thin coats of paint, allowing each coat to dry before applying the next. Consider using a gloss or clear coat to protect the paint and give the body a realistic shine.
Working on the Engine
The engine is often a highly detailed component of the kit. Assemble the engine block, cylinder heads, and other engine components according to the instructions. Detail the engine by painting individual parts and adding washes to bring out the details. Many kits include engine wiring and hoses, which can significantly enhance the realism. Carefully attach these parts, following the diagrams provided in the instructions. Pay close attention to the color schemes and references provided in the instructions to accurately replicate the engine’s appearance. If the kit allows, consider adding aftermarket details, such as upgraded spark plugs or engine bay accessories. Once the engine is assembled and detailed, it can be installed in the chassis.
Adding the Interior Details
The interior is another area where you can add significant detail to your model. Assemble the seats, dashboard, steering wheel, and other interior components. Paint these parts according to the instructions or reference photos. Consider using washes and dry brushing techniques to highlight details, such as the instrument panel gauges and the texture of the seats. Add decals to the dashboard and other interior areas to replicate gauges and controls accurately. Install the interior components in the body, ensuring they align properly with the chassis and other parts. Detail the interior with seatbelts, roll cages, and other accessories to add a realistic appearance.
Attaching Wheels and Finishing Touches

Attach the wheels to the chassis, making sure they align correctly and rotate freely. Paint the wheels and tires, paying attention to the details such as the brake discs and calipers. Add any remaining decals, such as sponsor logos or racing numbers. Apply a clear coat to protect the decals and the entire model. Once everything is assembled and the paint has dried, you can begin the final detailing. This includes adding any remaining small parts, such as mirrors, wipers, and antennas. Consider using weathering techniques, such as washes and dry brushing, to add a touch of realism and simulate dirt and wear.
Tips and Tricks for a Perfect Finish
Achieving a perfect finish requires attention to detail and the use of the right techniques. Always test your paints and glues on a hidden area of the model before applying them to the entire kit. Thin your paints properly to avoid brush marks and ensure smooth coverage. Use masking tape to protect areas during painting and apply multiple thin coats of paint rather than one thick coat. If you make a mistake, don’t panic. Carefully remove the paint and start again. Proper lighting is essential. A well-lit workspace allows you to see all the details and identify any imperfections. Clean your tools regularly to prevent dust or residue from contaminating your model. Research the real car and use reference photos to guide your build and ensure accuracy.
Common Mistakes to Avoid
Several common mistakes can detract from the finished model. Rushing the build process often leads to poor results. Take your time and be patient. Overusing glue can cause unsightly marks and damage the model. Use glue sparingly and only where necessary. Applying thick coats of paint can result in runs and drips. Apply thin coats and allow each coat to dry completely before applying the next. Not preparing the surfaces properly before painting can also lead to poor results. Clean the parts, fill any gaps, and prime the surfaces. Forgetting to check for proper alignment during assembly is another common mistake. Carefully check the alignment of the parts before gluing them together. Ignoring the kit’s instructions is also a mistake. Always read the instructions and follow them carefully.
Detailing and Painting Techniques

Mastering detailing and painting techniques elevates your model from a simple build to a work of art. The use of washes, which are thinned paints, can be applied to crevices and recesses to bring out details and create shadows. Dry brushing involves dipping a dry brush into paint, wiping off most of the paint, and then lightly brushing it over raised surfaces to highlight details. Weathering techniques, such as applying weathering powders or using airbrush techniques, can simulate the effects of dirt, rust, and wear, adding realism to the model. Experiment with different paint types, such as acrylics, enamels, and lacquers, to achieve the desired finish. Use masking tape to create clean lines and separate colors, and consider using an airbrush for a smoother paint job. Practice these techniques on spare parts or test pieces before applying them to your Le Mans 66 model.
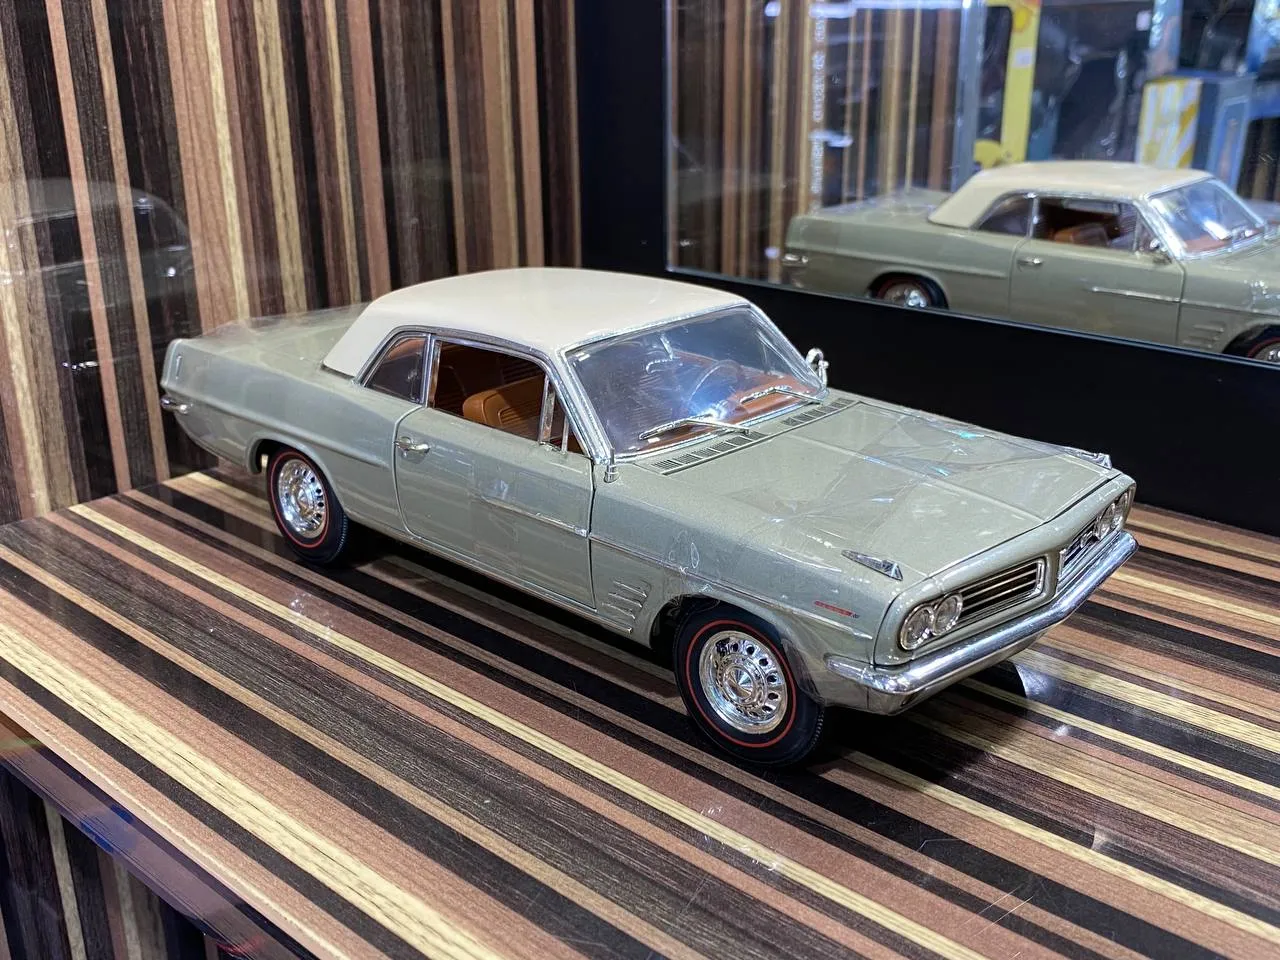
Displaying Your Finished Le Mans 66 Model
Once your Le Mans 66 diecast kit is complete, it’s time to display your work. Choose a location that allows you to appreciate the model and protects it from dust and damage. Consider using a display case to showcase your model and protect it from the elements. You can also create a diorama to add a more realistic setting, such as a race track or a workshop. Add other model cars or figures to create a scene and tell a story. Ensure adequate lighting to highlight the details and colors of your model. Regularly dust and clean your model to keep it looking its best. Sharing your model with other enthusiasts is a great way to appreciate your work and showcase your skills.